Updated October 22, 2025
One of the most popular and thrilling hikes in Acadia National Park is the Beehive Trail, which takes intrepid hikers to a rocky overlook via scrambling and metal ladders that jut out from the cliffside. Many people do the Beehive Trail in Acadia National Park for the thrill, the scenery, and the bragging rights. If you’re one of them, read on to learn everything you need to know before hiking the Beehive!
Beehive Trail: The Basics
Not for the faint of heart, this trail requires climbing with your hands and feet up vertical rock cliffs. From the top of the Beehive hike, you can catch some of the most breathtaking views of Sand Beach and Thunder Hole…if there’s no fog, that is. Much like the even more difficult Precipice Trail, if you decide to do the Beehive Trail, be prepared to climb metal ladders and rock faces with no guardrails on the cliffside.
Here’s a quick snapshot of the Beehive trail:
- Trail Distance: 1.4 miles
- Elevation Gain: 488 feet
- Difficulty: Difficult/Technical
Things to Know Before Hiking the Beehive Trail
This trail is clear and self-explanatory, but there are a few things I wish I knew before embarking on the Beehive Trail:
- Young children and dogs should not do this trail. Dogs actually aren’t allowed on this trail, and we understand why: the cliffs and scrambles are not feasible for them. Young children should also not do this trail because of its technical difficulty and the danger of falling.
- Avoid hiking the Beehive Trail when it’s foggy or rainy. The trail is extremely dangerous in wet conditions because the rocks and metal ladders get slippery and can be hard to hold onto as you climb. Plus, the views from the top are not visible when it’s foggy below.
- It gets extremely crowded during high season, on weekends, and on holidays. We’d recommend a sunrise start for the best views and the smallest crowds. When the trail is crowded, there are bottlenecks that can cause backups on the narrow rock cliffs, meaning you’ll be waiting around a while for people ahead of you.
- The Beehive connects to many other trails around the park. Because of this network of trails, there are several variations of the Beehive Trail that you can do depending on your timing and hiking preferences. We’ll get into a few of the common variations later in this guide.
- You’ll park in the Sand Beach parking lot and cross the street to reach the trail head. This isn’t super obvious from the signage, but there is no parking lot directly next to the Beehive trailhead. Park across the street at Sand Beach and then cross the main road to get to the Beehive hike starting point.
How to Do the Beehive Trail: Our Review
Metal Ladders and Scrambles Galore: The Beehive Trail Ascent
Because I’d heard the Beehive trail could get extremely crowded, I arrived at the Sand Beach parking lot around 7:00 AM, just after sunrise. It was a slightly foggy day, but the rocks weren’t wet or slippery, so I decided to go ahead with the Beehive Hike.
After parking, I crossed the street and began my ascent through the woods to the Beehive. I’d read in countless reviews that it was best to go counter-clockwise, taking a right at the Beehive/Bowl junction and continuing up the steep, rocky side with the ladders first. Here’s what that junction looks like (there’s plenty of signage there as well).
The trail begins climbing very quickly after turning right at the junction. Rocky “steps” and small scrambles start to appear into view, and you’ll begin using your hands in no time. After a little bit of time climbing up just rocks, you’ll start to see the views of the ocean and the surrounding mountains coming into view.
Eventually, you’ll start seeing the first sets of metal rungs. They’re pretty easy to climb, and none are especially long, but be sure to get a good grip on the handles and use your feet to hoist yourself up. With the stunning views in the background, this kind of climbing goes on for the rest of the ascent to the summit.
Along the way, I did get stopped a few times due to traffic on the trail. I could imagine that during peak hours, in peak season (I was there in late September), it gets challenging to maneuver the narrow cliffside trails and climbs leading up to the summit.
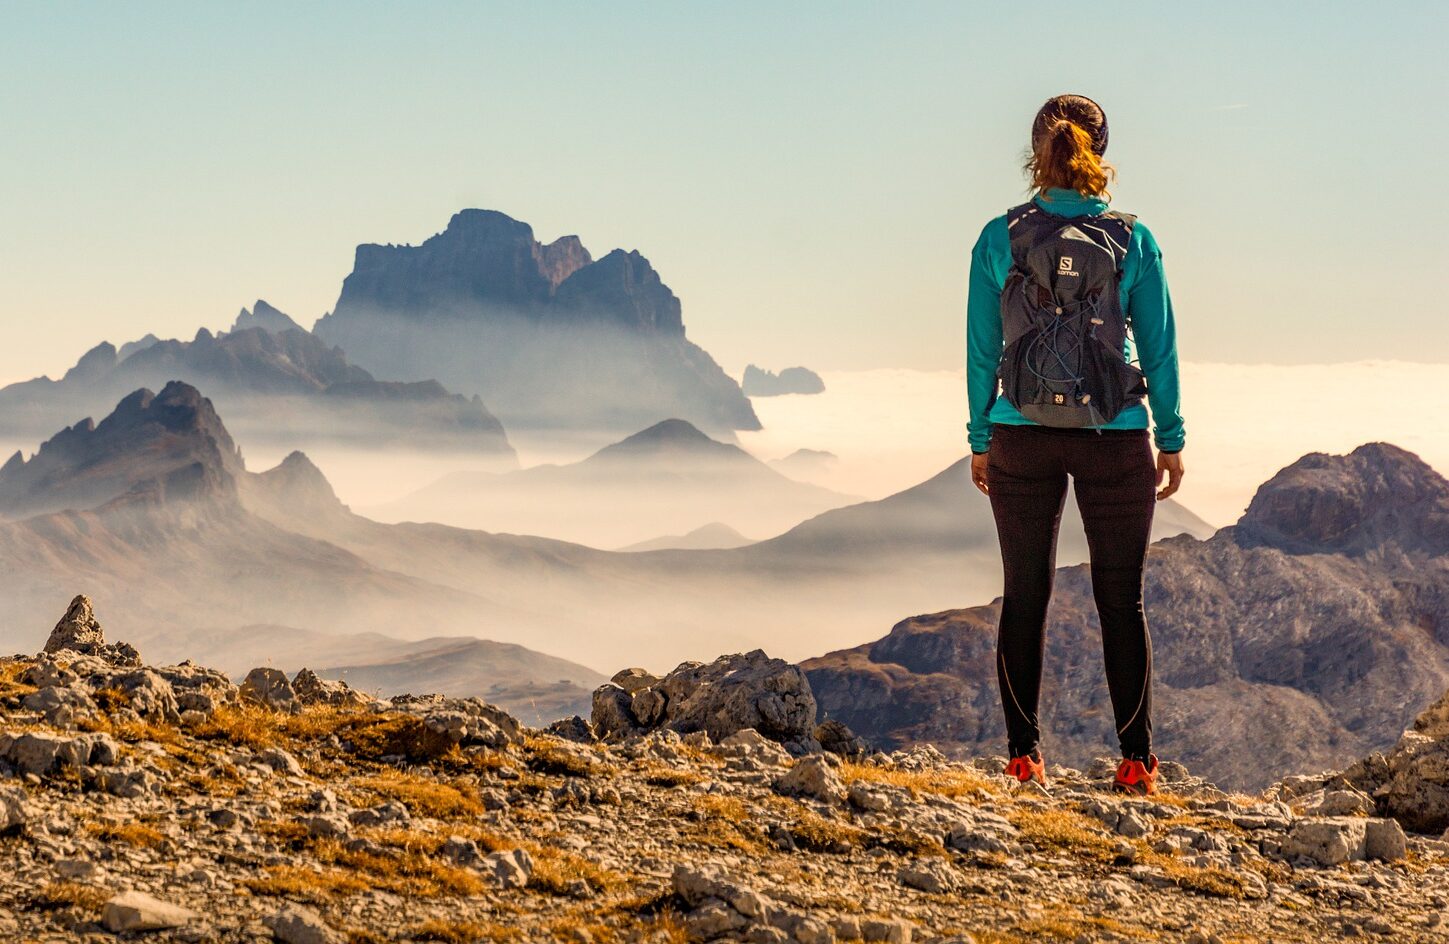
Once I got to the top, I spent some time admiring the views below. Unfortunately, it was a little big foggy, so I couldn’t see too far out into the water, but it was still a really pretty panorama of the park from up there.

Descending to the Bowl
After spending some time and catching my breath up at the top, I decided to continue onward. The descent from the Beehive summit was much more relaxed than the ascent, which was a relief. The trail takes you above more of the rocky peak before winding down through the forest to the beautiful, serene Bowl Lake. Despite its small size, the Bowl was one of the prettiest areas I saw in Acadia, especially with many of the trees changing colors in the fall.
From the Bowl, you’ll follow signs to the main road or to whatever hike you’d like to do next (Gorham Mountain and Champlain Mountain are the two most popular offshoots). The trails are super well-marked and easy to follow.
I personally did not do either of these, as the fog was starting to roll in and I didn’t think I’d be able to see anything from another summit. If I were to do it again, I’d definitely go for a variation, as the Beehive and Bowl trails combined are just a mere 1.4 miles, and I finished it in less than an hour.
Other Variations of the Beehive Trail in Acadia
While the classic Beehive loop goes from the Beehive to the Bowl to the main road, there are a few other variations you can do on this trail to make your hike longer and see different viewpoints in the park. I did the main loop, but here are a few other options you can try if you’re looking to extend your adventure a little longer:
- Beehive to Gorham Mountain Loop: This loop takes hikers to the Beehive trail, the Bowl, through the woods to the summit of nearby Gorham Mountain, and then back via the Ocean Path. In total, this variation is 3.5 miles and, aside from the beehive itself, is rated as moderate.
- Beehive to Champlain Mountain: Another option for hikers is to veer off from the Bowl and hike to the summit of Champlain Mountain. This 6.6-mile variation takes hikers to the summit of Champlain Mountain after hiking up the Beehive and to the Bowl.
Additional Resources for Hiking in Acadia
What to Bring
- Breathable hiking clothes - For warmer hikes, you’ll want to wear a sweat-wicking shirt and breathable pants, like these Patagonia hiking shorts for men and women. For cold-weather hikes, we recommend dressing in layers, including merino wool baselayers for men and women, a down puffer jacket for men and women, and a Northface waterproof outer shell for men and women (a must for hiking in Seattle). And don’t forget a pair of the best women’s and men’s hiking socks!
- Trekking poles - You won’t need these for every single hike, but we suggest throwing them in your car just in case. We recommend the Black Diamond Trail Ergo cork trekking poles, which are lightweight, easy to transport, and durable.
- Water bottle - Having water available at all times is a huge must. To limit disposable plastic, we recommend bringing your own refillable water bottle. We’re obsessed with Hydro Flask water bottles because they keep water cold for hours.
- Sunscreen and bug spray - Sweatproof sunscreen and DEET bug spray can help you avoid sunburn and bug bites, two of hiking’s most annoying after-effects. Our favorite kind of sunscreen is Sun Bum, as it is free of harsh chemicals and safe for marine life, including coral reefs.
- A brimmed hat or cap - The sun can be brutal in open hikes, so always pack a brimmed hat or cap for day hikes in the sunshine.
- Emergency blanket and first aid kit - We’d strongly recommend bringing a first aid kit and a lightweight emergency blanket on every hike. Why? Because the unfathomable can happen, and it’s always best to play it safe.
- Durable day pack - A durable day pack is the perfect spot to stash all your hiking gear. While any backpack will do, we recommend the Osprey Tempest 20 or the Talon 22 day packs because they’re comfortable and breathable for long hikes. For more information, check out our best day packs for any terrain guide.
Wondering what exactly you should pack for your next hike? Visit our Complete Day Hiking Packing List for our full list and our top gear recommendations.


