Updated February 23, 2026
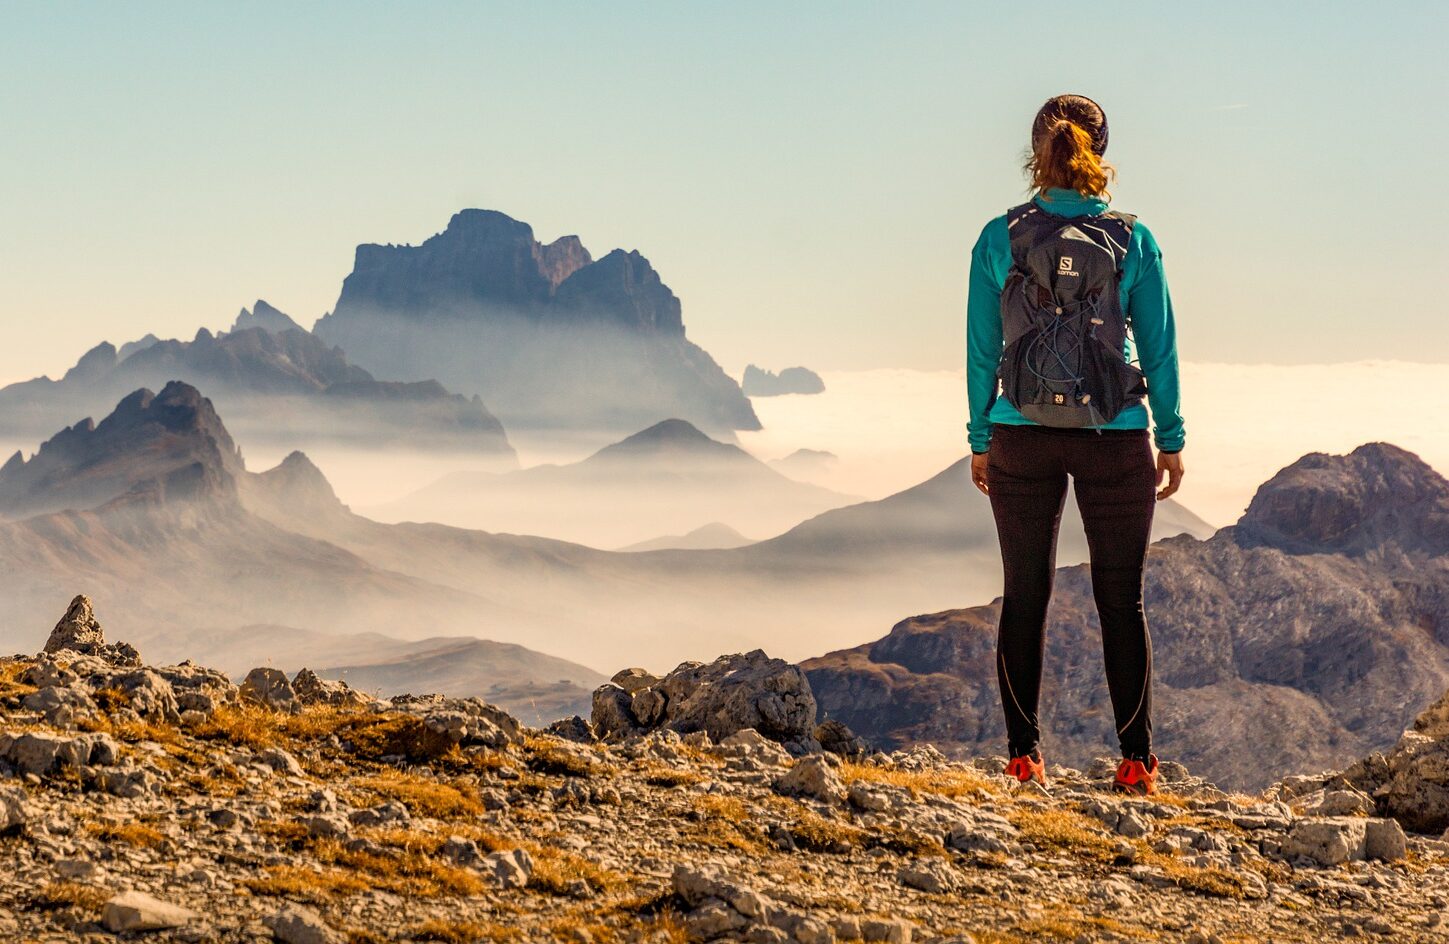
If you’re going to hike any challenging trail in the White Mountains, there’s no trail I’d recommend more than the Franconia Ridge Loop. This hike has it all - gorgeous waterfalls, stunning 360-degree views, challenging terrain, and 3 summits in New Hampshire’s 4,000-footer club. When I hiked this trail on a sunny October morning, I couldn’t put my camera down because there were jaw-dropping views seemingly around every corner. Don’t be fooled - you’ll have to work hard for these sweeping vistas on this 9-mile trail that climbs and descends nearly 4,000 feet of elevation gain.
For those up for the challenge, the Franconia Ridge loop is one of the best, most quintessential hikes in New Hampshire, and for good reason: there are few trails with views and landscapes as spellbinding as these. We created this guide to help you feel fully prepared and excited to embark on the Franconia Ridge Loop and experience its magic for yourself.
The Franconia Ridge Loop Trail: An Overview
Not for the faint of heart, the Franconia Ridge Loop trail leads hikers through White Mountain National Forest to the peaks of three 4,000+ footers - Little Haystack, Mount Lincoln, and Mount Lafayette. You’ll also pass a handful of scenic waterfalls, several steep, rocky areas, and the Greenleaf Hut, a basic refuge for overnight hikers. On days with clear weather and minimal fog, you can see many of the peaks of the White Mountains for miles with some of the best views in the state of New Hampshire.
If you’re still curious about hiking, here’s a quick snapshot of the Franconia Ridge trail:
- Trail Distance: ~9 miles
- Elevation Gain: 3,822 feet
- Estimated Completion Time: 6 to 8 hours (It took me 6.5 hours to complete the loop)
- Difficulty: Strenuous
- Parking: There’s a designated parking lot for the trail - the Old Bridle Path parking lot - that fills up quickly on weekends. If that lot is full when you arrive, there is additional overflow parking further north on Highway 93 that requires an extra 2 mile hike each way.
Things to Know Before Hiking the Franconia Ridge Loop
This trail is well-marked and easy to follow, but there are a few things I wish I knew before embarking on the Franconia Ridge Loop trail:
- This is NOT a trail for first-time or beginner hikers. While many beginner hikers will attempt this hike, I wouldn’t recommend it for families with very young children or beginners. There are several stream crossings, steep uphills, and exposed, slippery sections that could be quite dangerous. If you’re looking for an easier trail in the White Mountains with exceptional views, I’d recommend Artist Bluff & Bald Mountain.
- It’s best to hike the Franconia Ridge Loop counter-clockwise. While you can technically hike this loop in either direction, going up Falling Waters and down Old Bridle Path is the “path of least resistance.” Falling Waters is much steeper and muddier, and it’s a lot easier to ascend than descend. This is the direction I went and I’d recommend it to anyone attempting this hike.
- Going in clear weather will make the hike much safer and more enjoyable. Because of the elevation of the peaks you’ll traverse, there’s a good chance they’ll be covered in fog on rainy or cloudy days. This means you won’t be able to catch any of the stunning views this trail is known for. If you’re able, watch the weather and plan your hike on a day that looks to be clear and sunny. This way, you’ll maximize your chances of a safe hike and gorgeous panoramas of the White Mountains.
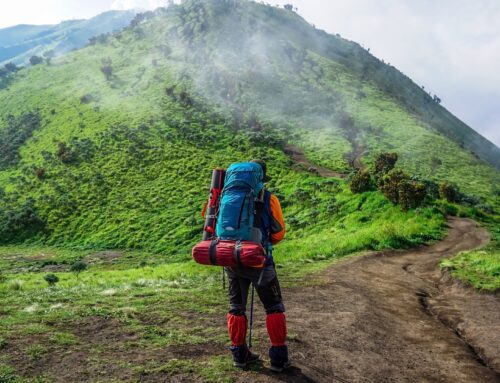
- Pack the right gear and layers for a highly variable and exposed trail. There’s often a huge temperature and weather differential between the base of the trail and the summit/ridgeline area, so come prepared with several hiking layers. Wear waterproof hiking boots, as there are several stream crossings on the Falling Waters trail. I’d also recommend trekking poles for the steep descent.
How to Hike the Franconia Ridge Loop Trail: Our Review
Parking & Getting to the Trail Head
On a sunny morning in October, I embarked on a solo hike on the Franconia Ridge Loop, along with my super active, 15-pound dachshund mix, Stella. The night before, I spent the night in my campervan in Littleton, a nearby city, and woke up around 6 AM to drive to the trailhead. Heading north on Interstate 93, the trail head is on the right hand side of the road, marked as the “Old Bridle Path” parking lot.
Since I got there so early on a weekday, the parking had hardly anyone in it. I got a spot right next to the trailhead entrance, packed my bag, and began hiking. Quickly after beginning the hike, there’s a fork in the trail to head to the Old Bridle Path to the left or Falling Waters Trail to the right. Like I mentioned earlier, I chose to go counter-clockwise up Falling Waters.
Ascending via Falling Waters Trail
Immediately after taking the Falling Waters trail, you’ll find the waterfalls, which run basically parallel to the trail for several miles during the ascent. Get your cameras ready, because so many of these waterfalls are photo-worthy!
During the initial ascent is where you’ll find the ~5 or so stream crossings required to stay on the trail - you can absolutely do these without getting your feet wet if you’re creative with your footing over the rocks and have good waterproof boots. I carried Stella over these sections and somehow managed not to end up completely soaked.
The Falling Waters trail begins gradually but quickly picks up steam as the mountainside becomes steeper. You’ll be following blue blazes all the way to the top, so be sure to look out for these if you want the easiest pathways forward. A few times I accidentally strayed from the main trail and I paid for it in extra, unnecessary effort (and overly muddy boots).
After about 1.5 miles or so, we left the waterfalls and hiked up a dirt and rock, forested pathway the rest of the way to the top. There are 8 switchbacks here to take before a steep but gradual slog to the first summit. There’s also an option to take a short detour to Shining Rock, just 0.1 miles out of the way. I didn’t do this but I imagine the viewpoint is well worth the minimal effort. Ascending the rest of the trail is steep, but the trees eventually start to break and the terrain will become rockier, and at this point you’ll know you’re close to the ridge.
Approximately 3 miles in, Stella and I reached the top of your first summit, Little Haystack! The views up here were absolutely phenomenal. We ate a snack and took a break here as we admired the beautiful peaks and silhouettes of the White Mountains, as well as the ridgeline of the Franconia Range toward Mount Lincoln.
Hiking the Ridgeline to the Three Summits
Once we felt rested, Stella and I headed toward the second summit, Mount Lincoln. Yes, that mountain you can see from Little Haystack is Mount Lincoln, which blocked our view of the third and final summit, Mount Lafayette. Here, the blazes change from blue to white, so be sure to look out for the white blazes as you continue toward the ridge on your left.
The ridge area of the trail is completely exposed as it’s above the tree line, and at this point I wished I’d brought a baseball cap or trucker hat to shade my face and eyes from the sun. Oh well…
This area is pretty rocky and steep but doesn’t require too much scrambling. Along the ridge, you’ll continue to see epic panoramas of the surrounding mountains throughout your hike. Watch out for wind up here - when we hiked, it wasn’t too bad but I could imagine it being much windier at times. A good windbreaker or rain jacket would definitely come in handy!
As we summited Mount Lincoln, the peak of Mount Lafayette came into view. We took a short break before the final haul through the saddle and up Mount Lafayette. The Mount Lafayette views are arguably the best of the three mountains, and we took our longest break up there.
All in all, the entire ridge section of the trail was just under 2 miles in length and is absolutely stunning throughout. It took us about 1.5 hours to traverse the ridge, including 20-30 minutes of breaks.
Descending Down Old Bridle Path
The last part of the Franconia Ridge Loop trail descends down Old Bridle Path back to the parking lot. First stop, though, is Greenleaf Hut, a backpacker’s lodge located about 1 mile from the summit. You can actually see it from the ridge, so it doesn’t feel too far away.
Stella and I at first made the mistake of continuing straight in the same direction as the ridge trail to descend Mount Lafayette. This is NOT the way to go if you want to go back to the parking lot. Instead, take a left toward the rock piles and make sure you’re headed toward Greenleaf Hut.
We hiked here the day after it rained, so the descent was very muddy and full of water puddles. Stella loved it, but after I slipped a handful of times, I can’t say I felt the same way. We took a very brief stop at Greenleaf Hut (there’s free drinking water available here but it was otherwise closed) and then continued the last ~3 miles down to the parking lot.
Hiking down Old Bridle Path was mostly gradual, but there were several spots that had steep, rocky sections. These areas of the trail were where I had to use my hands the most. I didn’t bring trekking poles on this hike, but during the descent, I sorely wish I did. My left knee was throbbing at the end of the hike and I think it would have felt a lot better had I brought extra support for the hike down.
The entire 9-mile hike took me 6.5 hours, including ~45 minutes of breaks throughout the course of the day. I began just before 8 AM and finished the hike at 2:30 PM, with enough time to drive to Manchester and meet a friend for an early dinner.
The Bottom Line
In nearly two months spent in New England over the course of September and October, Franconia Ridge was my favorite hike I did. While I still have a few hikes in Maine and Vermont on my list, Franconia Ridge will forever be one of my most beloved hikes on the East Coast.
If you’re an experienced hiker and are willing to take on a challenge, I would 100% recommend the Franconia Ridge Loop as a must-do hike in the White Mountains. For all the effort it takes to get through this strenuous hike, the views are absolutely worth it. I’d do this hike again and again.
Additional Resources for Hiking in New Hampshire
What to Bring
- Breathable hiking clothes - For warmer hikes, you’ll want to wear a sweat-wicking shirt and breathable pants, like these Patagonia hiking shorts for men and women. For cold-weather hikes, we recommend dressing in layers, including merino wool baselayers for men and women, a down puffer jacket for men and women, and a Northface waterproof outer shell for men and women (a must for hiking in Seattle). And don’t forget a pair of the best women’s and men’s hiking socks!
- Trekking poles - You won’t need these for every single hike, but we suggest throwing them in your car just in case. We recommend the Black Diamond Trail Ergo cork trekking poles, which are lightweight, easy to transport, and durable.
- Water bottle - Having water available at all times is a huge must. To limit disposable plastic, we recommend bringing your own refillable water bottle. We’re obsessed with Hydro Flask water bottles because they keep water cold for hours.
- Sunscreen and bug spray - Sweatproof sunscreen and DEET bug spray can help you avoid sunburn and bug bites, two of hiking’s most annoying after-effects. Our favorite kind of sunscreen is Sun Bum, as it is free of harsh chemicals and safe for marine life, including coral reefs.
- A brimmed hat or cap - The sun can be brutal in open hikes, so always pack a brimmed hat or cap for day hikes in the sunshine.
- Emergency blanket and first aid kit - We’d strongly recommend bringing a first aid kit and a lightweight emergency blanket on every hike. Why? Because the unfathomable can happen, and it’s always best to play it safe.
- Durable day pack - A durable day pack is the perfect spot to stash all your hiking gear. While any backpack will do, we recommend the Osprey Tempest 20 or the Talon 22 day packs because they’re comfortable and breathable for long hikes. For more information, check out our best day packs for any terrain guide.
Wondering what exactly you should pack for your next hike? Visit our Complete Day Hiking Packing List for our full list and our top gear recommendations.
