Updated November 11, 2025
You’ve probably found your way to this snowboarding tips for beginners article because you’re considering going snowboarding for the first time, or you’ve already started snowboarding and want to sharpen your skills. I get it - as a first-time snowboarder at the ripe age of 27, I spent a long time navigating the bunny hills and green runs before feeling comfortable and speedy on my board. There is no magical formula to learn snowboarding for beginners, but there are some things you can do to make the learning process much easier. To help you get going on the slopes as quickly as possible, I’ve compiled the best beginner snowboarding tips that helped me start shredding the slopes successfully in just a couple of days.
Before Hitting the Slopes: Beginner Snowboarding Tips
1. Make sure you have the proper gear
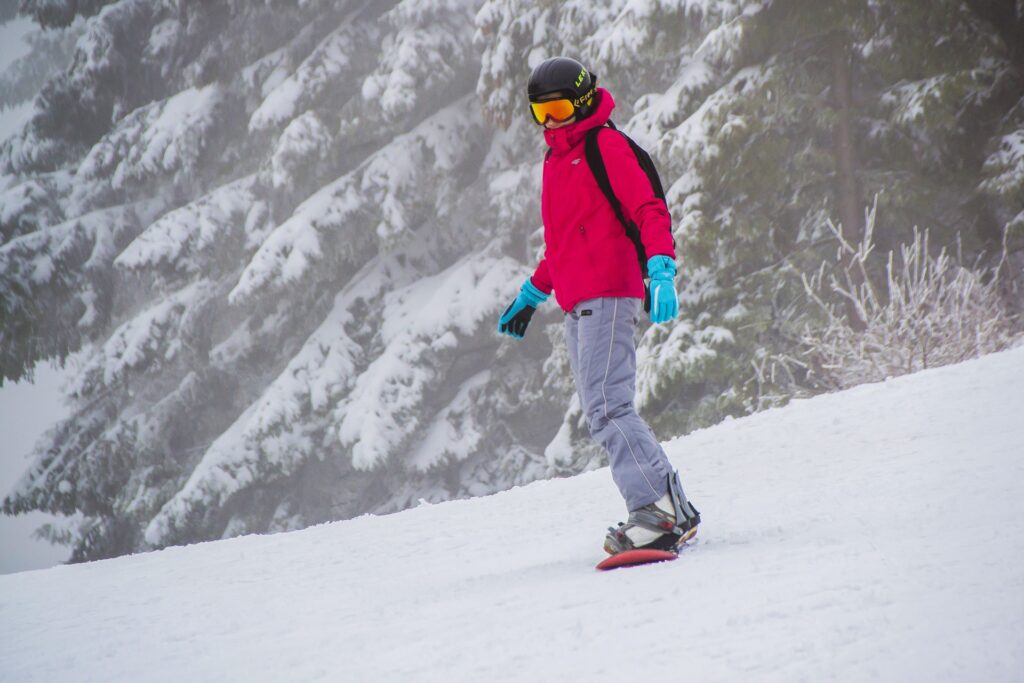
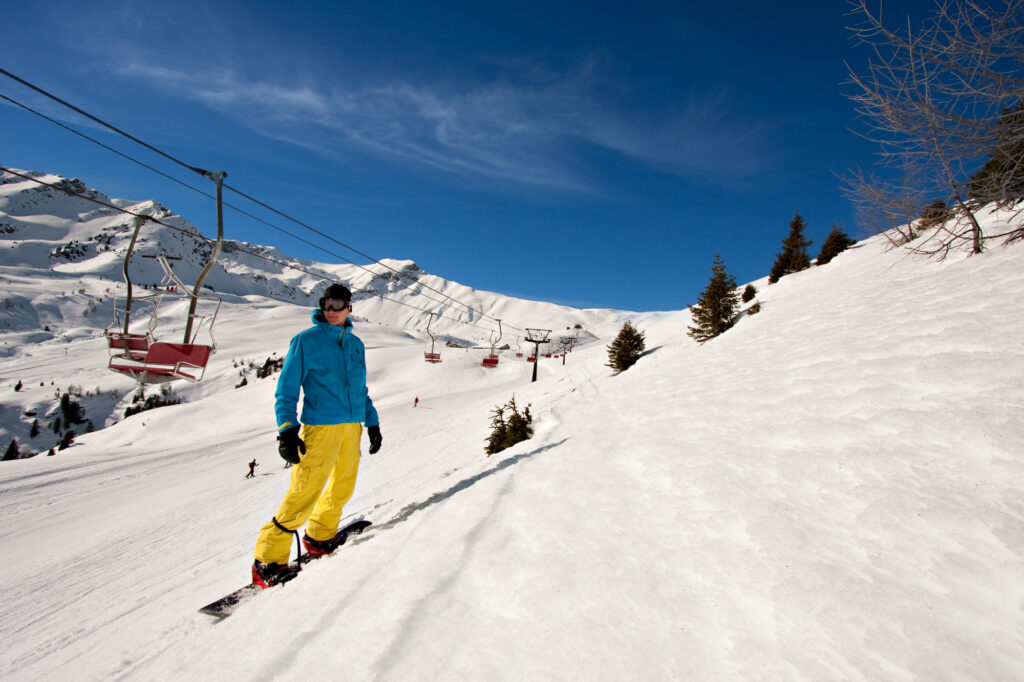
Having the right gear can make or break your experience riding in the snow. Snowboarding for beginners is hard enough, and having clothes that aren’t suitable for snow will make it even harder to learn! Think about it - without the right clothes and equipment, you’ll be cold, wet, and weighted down by damp, heavy clothes that won’t dry. On the other hand, with high-quality gear, you’ll stay warm, dry, and free to enjoy the slopes. The most important things to have for your first time on the slopes are:
- A waterproof jacket
- A waterproof pair of pants
- Comfortable base layers
- Thick socks
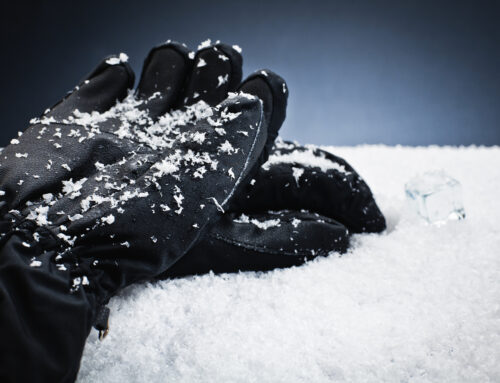
- Mittens or gloves
- Neck gaiter
- Helmet
- Goggles
You don’t need anything fancy for your first time on the slopes. We’d recommend digging through your closet and finding clothes you already have before investing tons of money into high-end ski or snowboard gear. Just make sure to avoid moisture-absorbing fabrics like cotton or denim, and instead opt for moisture-wicking wool or technical synthetics like nylon and polyester.
In addition to snow-friendly gear, we’d strongly recommend getting some protective gear for your first few days on the slopes. These can include helmets, wrist guards, knee pads, and padded shorts for added protection when you fall. It’s common to end up with injured or bruised wrists, knees, shins, and tailbones from snowboarding, so taking these small preventative steps ahead of time can help mitigate the risk of injury when you’re on the slopes for the first time.
Our Snowboarding Gear Guides
2. Plan your day on the slopes in advance
Before you head out to the resort of your choice, it’s a good idea to plan out your day so you can maximize your time learning and riding. If you haven’t chosen a resort yet, you can so some destination research to find the nearest ski resort to your own city. Generally, the larger resorts will have a wider range of runs, and typically offer the best resources (lessons, rentals, etc.) for beginners.
After choosing the resort you’re going to explore, check out the weather conditions and slope reports on the resort’s website. For learning, it’s wise to avoid days where it’s going to rain or be too hot, which results in poor snow conditions. Sometimes, certain resorts have to close several runs due to inclement weather, so you’ll want to make sure the beginner terrain is open for your desired dates.
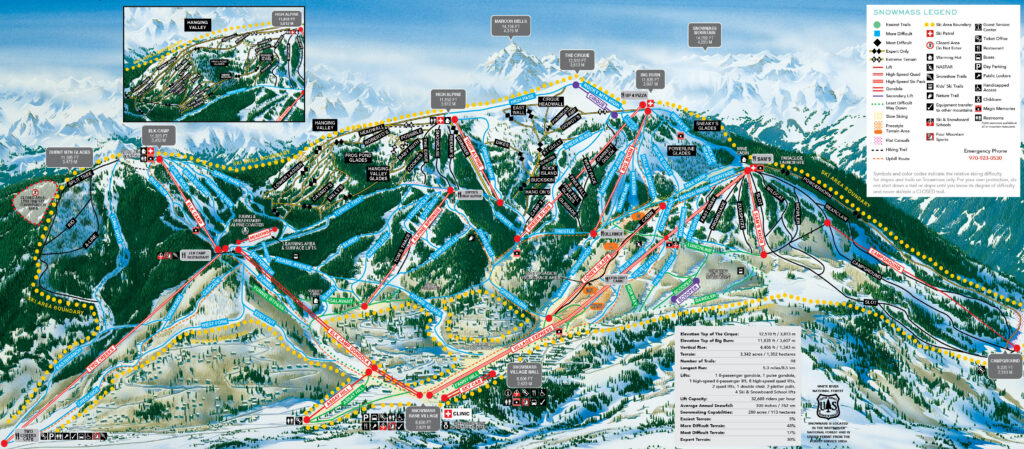
Lastly, check out a trail map for the resort you’re planning on visiting. A trail map is an illustrated map that shows the various groomed trails available at the park. Usually, ski resorts use the following designations:
- Green square/green trails = beginner-friendly trails
- Blue circle/blue trails = intermediate trails
- Black diamond/black trails = advanced trails
- Double black diamond/black trails = expert-only trails
- Orange bar/orange areas = terrain parks
You can use the trail map to determine best areas for beginner riding. There’s usually a learning “bunny hill” at each resort that’s smaller and milder than the longer runs, and this is always a place to begin. You can also map out a few green runs you’d like to try and take note of the names of the lifts that service them (you definitely don’t want to get on the wrong lift, only to realize there are no easy slopes coming down from it!). In the beginning, you’ll want to avoid narrow trails, advanced trails, trails with trees or obstacles, and terrain parks.
3. Book a lesson (& look for deals)
If you have the money to invest in a lesson, we’d strongly recommend taking one for your first day on the slopes. Not only will a professional instructor be able to teach you much more quickly than a YouTube video or a friend (or an Urban Outdoors article about snowboarding tips for beginners…), but they can also give you real-time feedback and tips to help you squash bad habits from the get-go.
Usually, resorts offer two types of lessons: group lessons and private lessons. Group lessons are typically cheaper and provide instruction to a small group. Some of the drawbacks of group lessons are less personalized attention, potentially having to take a lesson with young children, and having to cater the group’s teachings to the least advanced person (meaning you can’t progress at your own pace).
Private lessons, on the other hand, are much more individualized, but they’re quite a bit more expensive. Typically, resorts will offer hourly, half-day, and full-day private lessons for just you or a small group of family and friends. I opted for a 3-hour private snowboarding lesson with Adam at Okemo Mountain Resort on my third day of wiping out constantly on the mountain, and it helped immensely.
Pro tip: Lots of ski resorts offer beginner deals that include rentals, lessons, and lift tickets for a heavily discounted price. If you are interested in learning how to snowboard, look out for these deals so you can save some money when you book.
4. Determine your stance
Once you have a plan for hitting the slopes, you’ll want to figure out your snowboarding stance. Your stance dictates which will be your front foot and which foot will be your back foot on the board. Unlike some other guides to snowboarding for beginners, we recommend formulating a hypothesis for your stance before heading to the resort so you can make the rental/learning process much easier on yourself.
Some people, especially those who have played certain sports or ridden a board before, will know intuitively which foot feels most comfortable in the forward position. Personally, I was a gymnast for many years growing up and tumbled left-footed, so I felt more comfortable with my left foot forward.
You’ll hear many people refer to these stances as “regular-footed” and “goofy-footed.” Regular means your left foot is forward in the board, and goofy means your right foot is forward. Generally, your back foot should be your more dominant foot. If you aren’t sure which foot should go forward, there are a couple of ways you can figure it out:
- Think of how you’d kick a soccer ball. If you’d naturally kick with your right foot, you’re likely to ride with your left foot forward (regular). If you’d kick with your left foot, you’re likely to ride goofy-footed.
- Have someone push you (lightly) from behind. Whichever foot you put forward for balance is likely to be your front foot on the board.
- Take the stance you’d take while boxing or punching something. Which foot is forward? If it’s your left foot, you may be regular footed. If it’s your right foot, you may be goofy-footed.
Note that none of these tricks are “end-all be-all” ways to determine your snowboarding stance. The #1 best way to figure out if you are regular- or goofy-footed is to get on a board and see what feels right. Just like choosing your dominant writing hand, you can’t force the wrong stance.
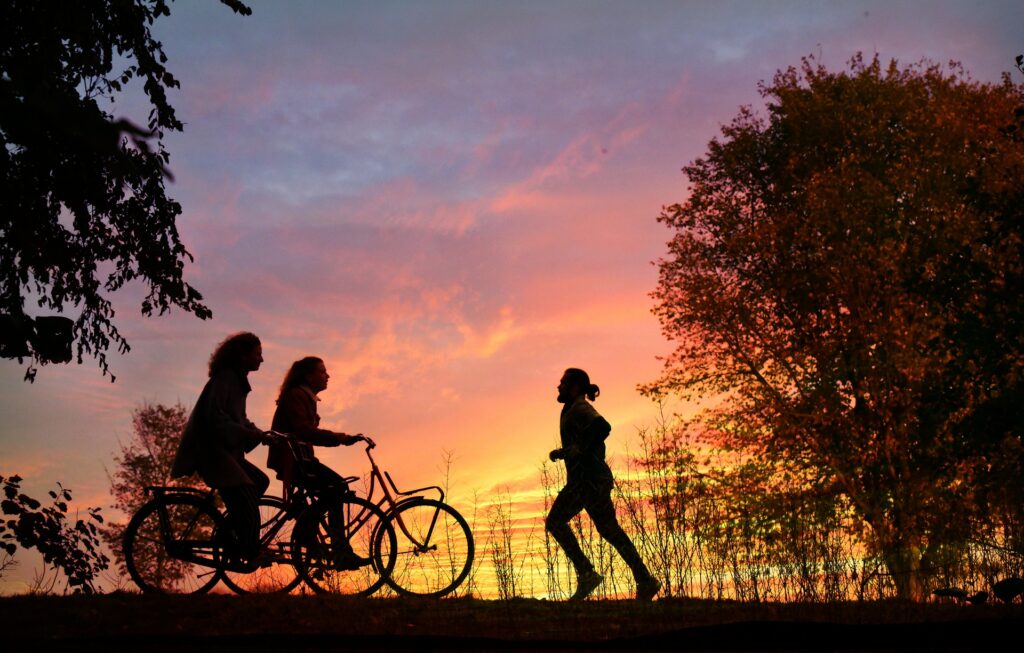
5. Get in shape
None of our snowboarding tips for beginners will be as helpful as simply being in good physical shape before you hit the slopes. Having good amounts of physical strength and stamina is a critical part of being able to snowboard well and for long periods of time. Those who exercise at the gym regularly or are active outdoors with activities like hiking, climbing, or paddling should be totally fine out on the slopes. In particular, having strong legs and core muscles will help you tremendously with many of the movements necessary in snowboarding.
With that said, you may find yourself sore after snowboarding for a day or two, no matter how fit you are. This is normal! Snowboarding often works muscles you may not even know you have, and you’ll definitely feel those muscles after spending a long day shredding.
When You’re On the Slopes: Snowboarding Tips for Beginners
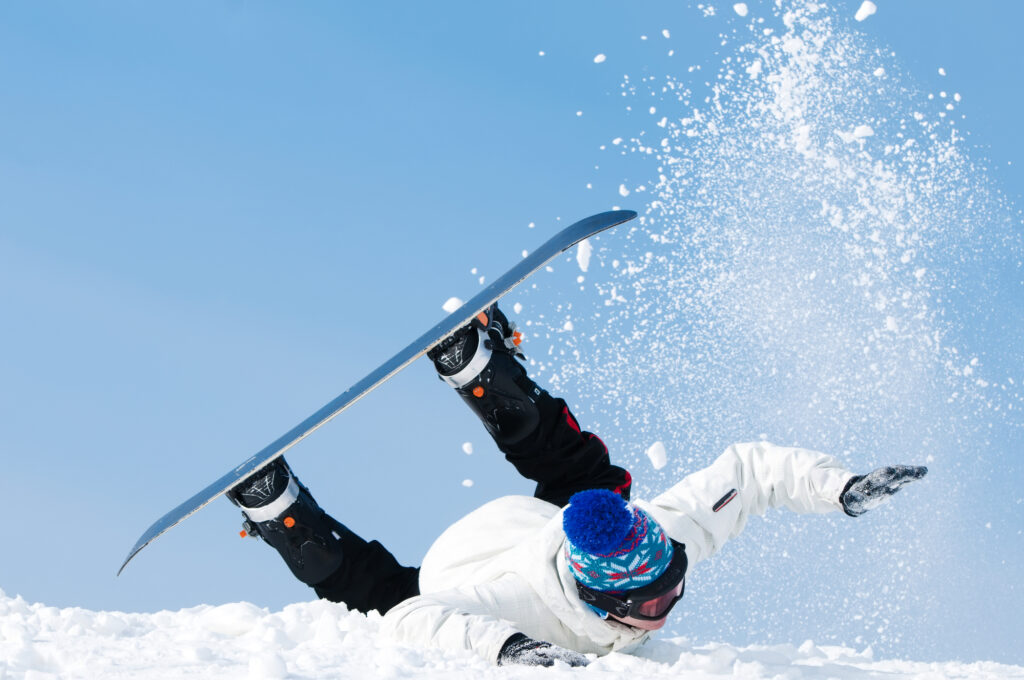
6. Don’t be afraid of falling
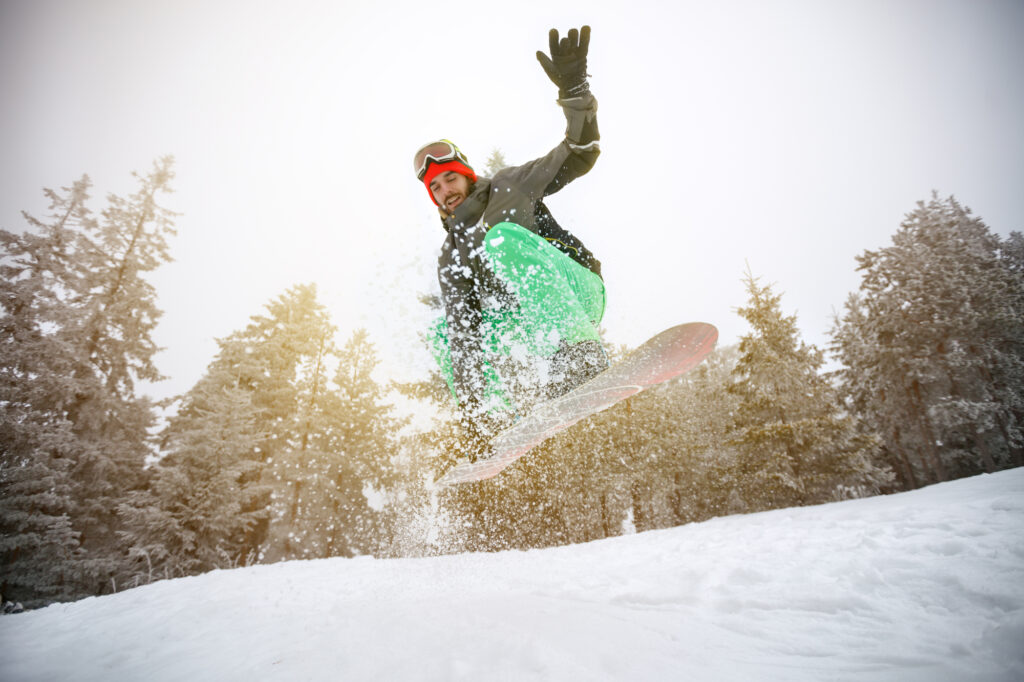
Before we get into any of the other snowboarding tips for beginners, the most important thing to know (in our opinion) is that you are absolutely, positively, definitely going to fall during the learning process. Ask anyone - even advanced snowboarders wipe out regularly! In our opinion, no list of beginner snowboarding tips is complete without one section addressing the fear of falling. The faster you accept and embrace the fear of falling, the quicker you’ll learn and develop confidence on the slopes.
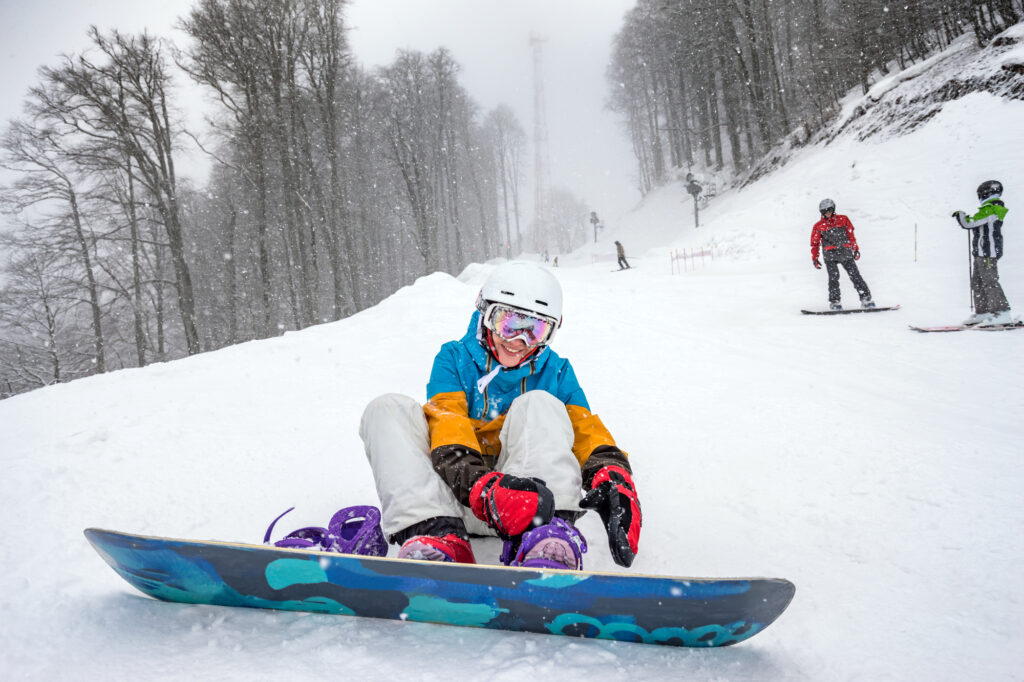
It’s normal to be afraid to fall or injure yourself, and it’s a natural response to something scary or unfamiliar. But, if you come prepared with the right mindset and gear (don’t forget those helmets, wrist guards, knee pads, and padded shorts), you can take any falls or wipe outs like a champion. If you come to the slopes ready to learn (and fall), you’ll find that it’s not so terrifying after all.
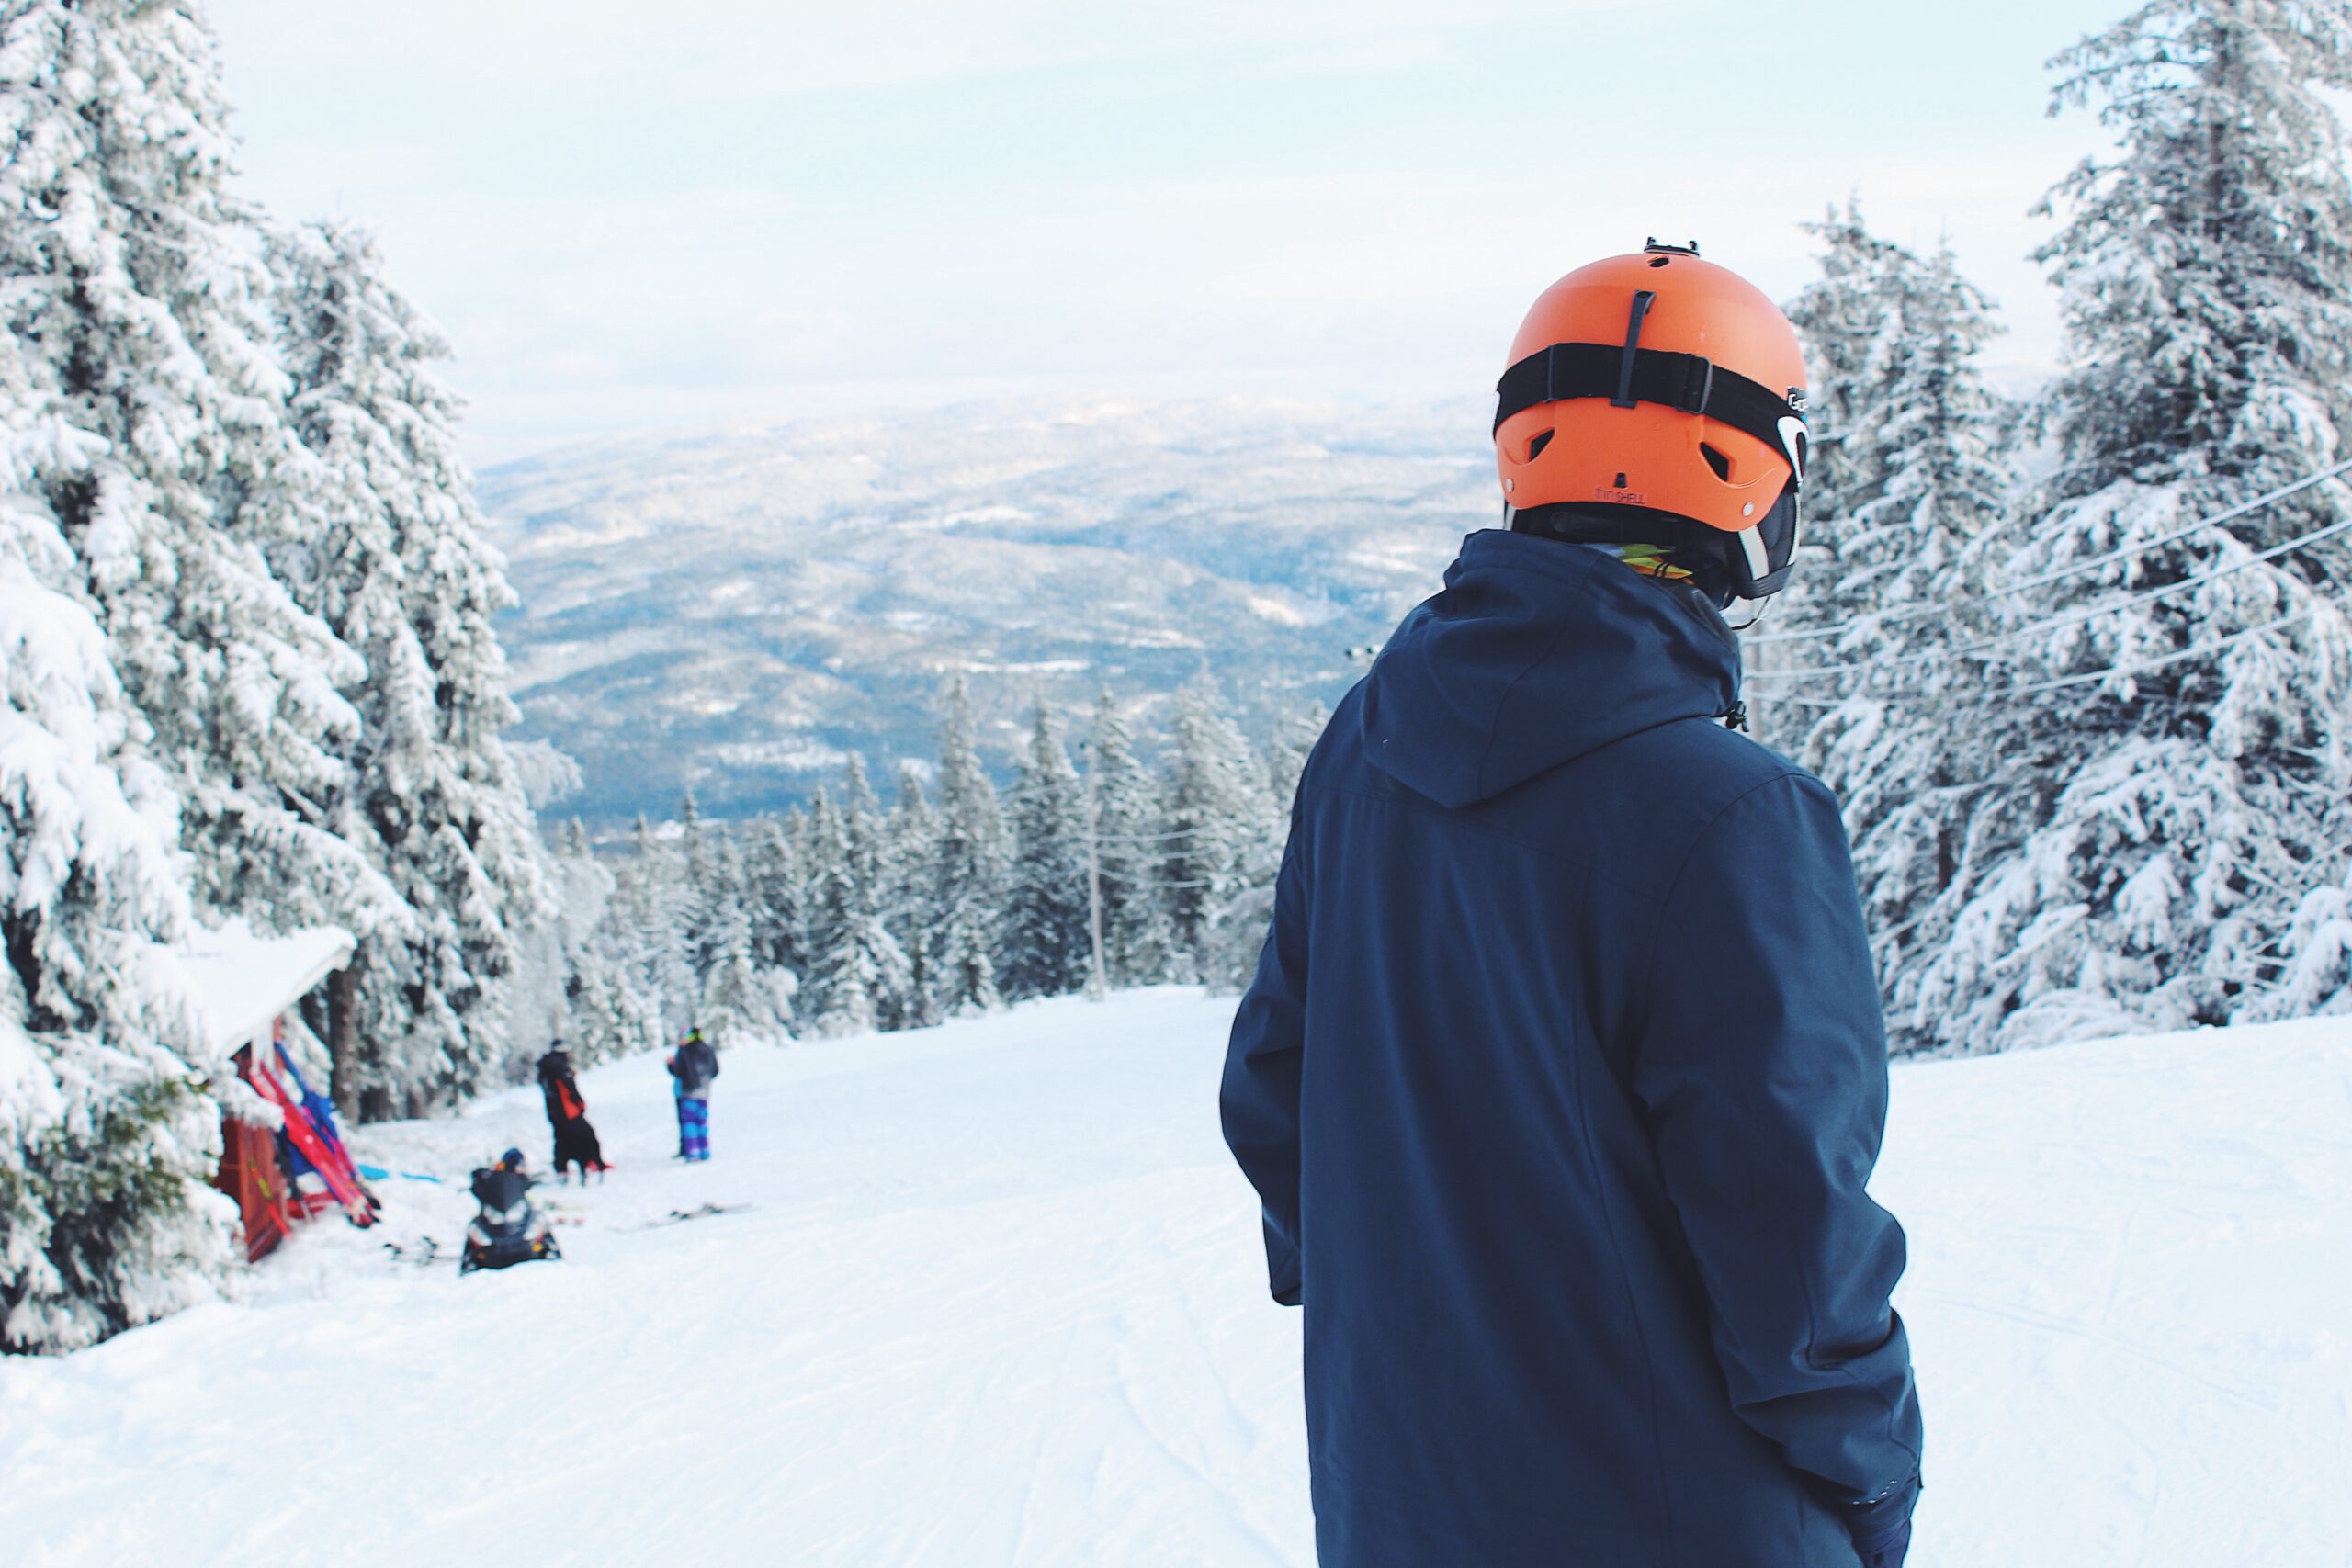
Pro tip: Wear a helmet when you’re learning how to snowboard. You’ll often see people skiing and riding the slopes without one (including some of the images in this article), and we don’t think that’s very smart. Helmets can protect your brain in the event of a crash or fall, and these days, they make helmets so comfy and lightweight that you won’t even notice they’re there! You can usually rent helmets from any local ski shop or resort, but we’d recommend buying your own.
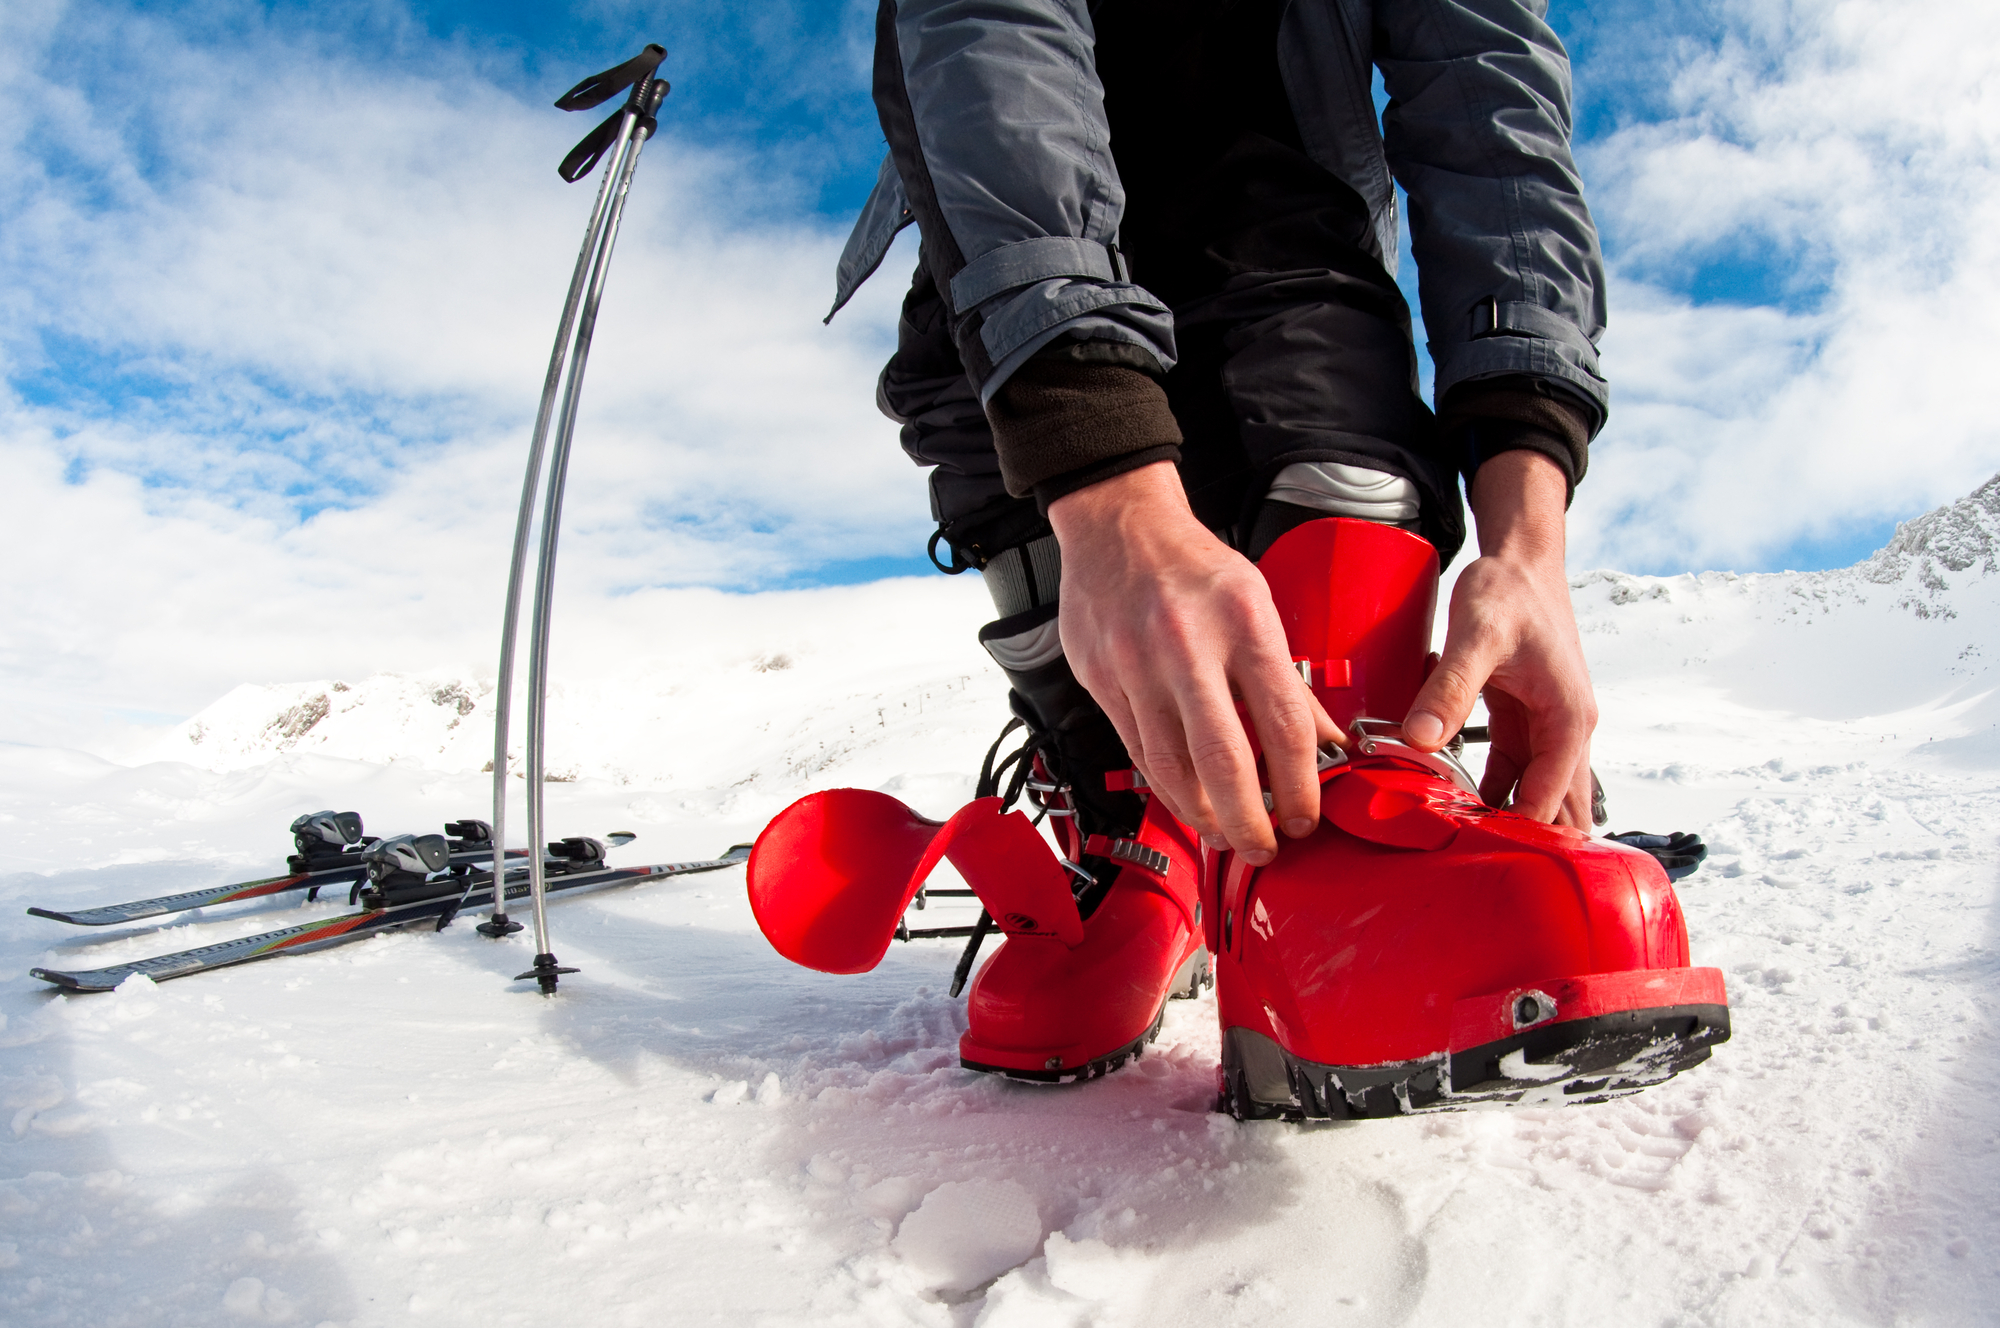
7. Know the anatomy of your snowboarding gear
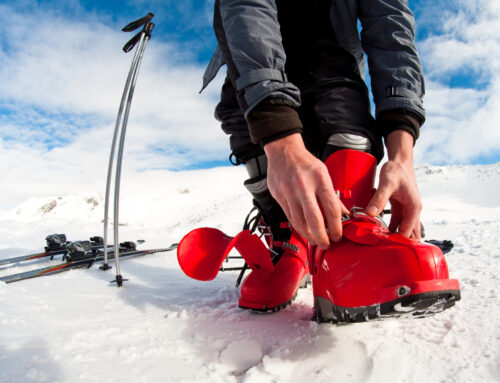
Whether you’re renting your equipment or using your own, you’ll need to know how to use your snowboarding gear before you step on the snow. A typical snowboarding setup is comprised of a board, bindings, and a pair of snowboarding boots.
The size of your board, bindings, and boots will depend on your height, weight, and shoe size. If you’re renting, the attendant at the shop should be able to get you set up with the right sizes with a few quick measurements. Make sure everything fits snugly but not too tightly - snowboarding boots are usually fairly comfortable and should fit right into the bindings on your board.
One of the most critical snowboarding tips for beginners is to learn the workings of these pieces of gear as soon as you get it, including how to buckle into your bindings, how to release your bindings, and how to tighten and adjust your boots. Buckling in and releasing your boots is something you’ll be doing often as a beginner, so it can really help to practice getting in and out of your bindings in your rental equipment before heading out to the slopes.
8. Learn to skate
The first step of snowboarding is getting to know your board and feeling comfortable riding it while it’s moving. “Skating” on the snow is the best way to do this. It’s a critical skill to have while moving around on flat surfaces or getting off the chairlift (which you’ll probably need to do quite frequently as a snowboarder).
Skating is basically riding the snowboard like a skateboard, with your front foot buckled into your bindings, while your back foot is unbuckled and pushing on the snow to propel you forward. You can either push the board with your foot behind you or in front of you. To stop, hang your heel off the back of the board or your toe off the front of the board, and pressing it lightly into the ground.
Here’s a great video that explains how to skate on a snowboard:
Video credit: Snowboard Addiction
We’d recommend experimenting with skating on a flat, snowy area or on a very slight incline. Don’t choose a hill that’s too steep, or you may have trouble stopping yourself!
9. Get comfortable on your edges with heel and toe slides
Once you’re comfortable skating on your board, it’s time to buckle into your board and learn how to get on your edges! Of all of the snowboarding tips for beginners on our list, this one is most important for learning how to control your board down the slopes.
There are two edges on a snowboard - your heel edge and your toe edge - which dictate the speed and direction you’ll be able to go. Many people start off with heel and toe slides as a drill to get a feel for your edges.
To do a heel slide, start by sitting on your butt and standing up on your board facing the bottom of the hill. If you have trouble standing, grab the edge of your board with one hand in between your feet and shift your weight forward. Once you’re standing, dig your heels slightly into the ground, then release them slightly. When you release them and stand with flatter feet, you should move forward just a little bit. As you begin digging your heels into the snow again, you should come to a stop. Do this several times to learn how much pressure will bring you to a stop and how much pressure will let you slide.
To do a toe slide, flip over to your hands and knees and stand up facing the top of the hill. This may feel unnatural to you, and that’s completely normal! Once you’re standing, you’ll do the same type of movement, except with your toes - you’ll dig your toes into the snow to stop, then release then to slide backward down the hill, then repeat over and over again as you continue to slide slowly down the hill.
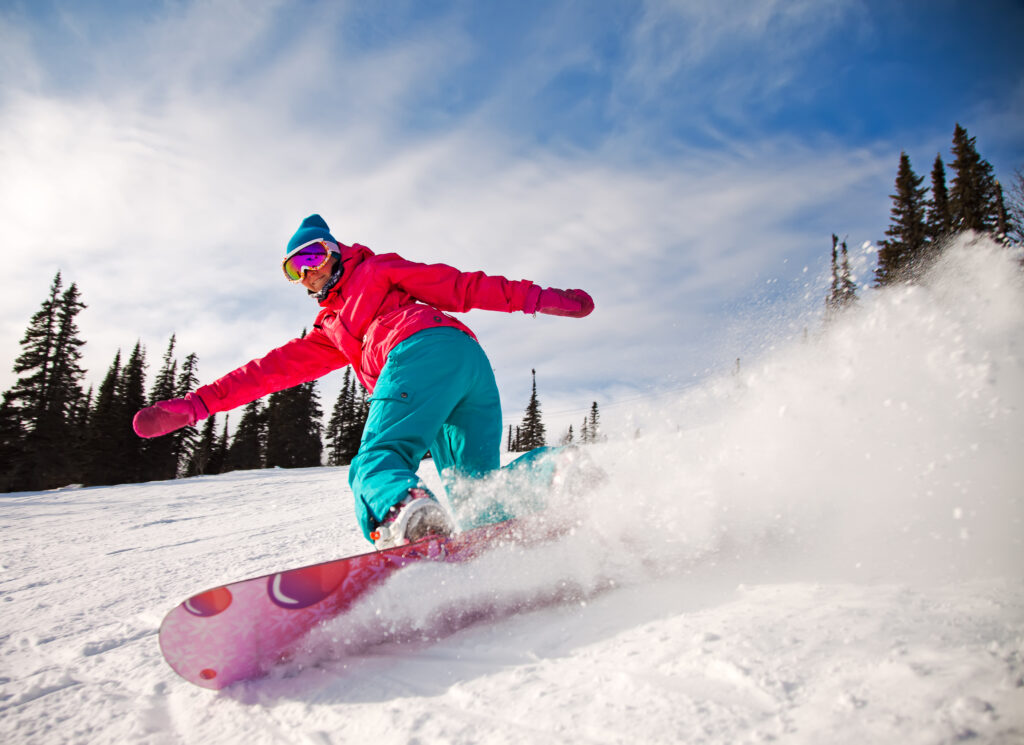
10. Master your J and S turns
Once you’ve learned how to skate and slide on your heels and toes, it’s time to start riding. J turns (and, subsequently, S turns) are critical movements that are taught in all lessons on snowboarding for beginners.
J turns combine skating and toe/heel slides to create a “J” shape on the slopes. To do this, you’ll skate straight on your board (with your back foot unbuckled to begin with), then apply pressure to your heels. While doing this, look in the direction you are turning. This heel turn will get your board to turn in the direction of your front foot (left for regular-footed, right for goofy-footed).
To turn the other way, you’ll start by skating straight forward, then you’ll apply pressure into your toes while looking in the direction of your back foot (right for regular-footed, left for goofy-footed).
S turns are simply linked J turns. You’ll start by riding straight down the hill, turning onto your heels, then riding straight again and turning onto your toes. This creates an “S” shape with your movements, hence its name. Most snowboarding is a series of large or small S turns, so once you’ve mastered this skill, you’re snowboarding!
Here’s an awesome, super helpful video on linking J turns to make S turns:
Video credit: SnowboardProCamp
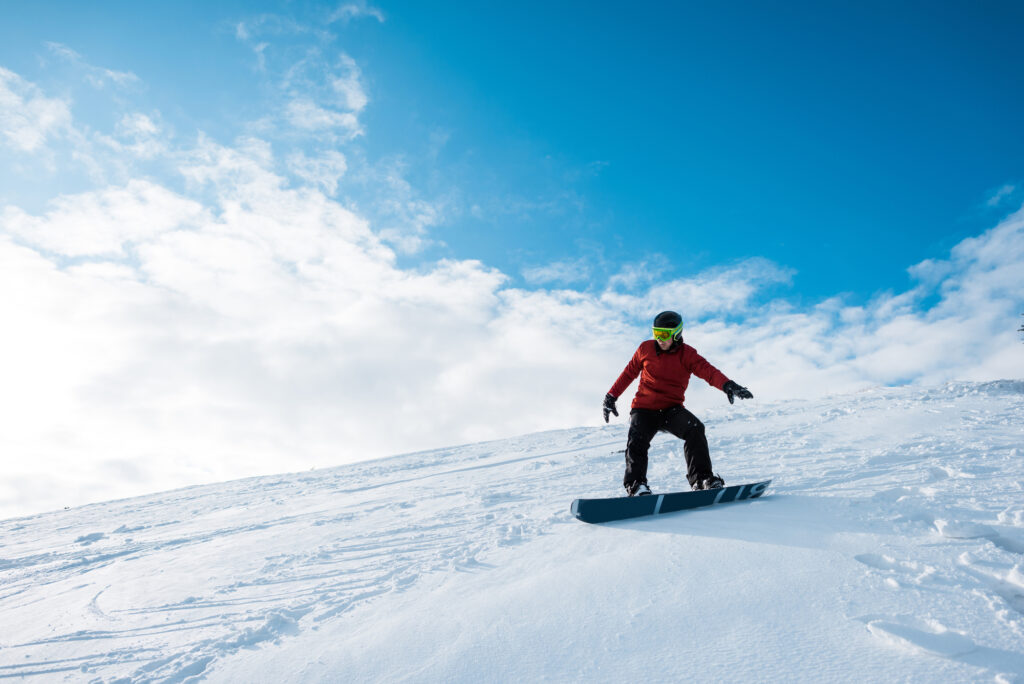
11. Traverse the slopes
Traversing the slopes means riding diagonally down the slopes instead of straight down them. Once you’re beginning to link your J turns, you’ll want to traverse a little bit in between your turns. To do this, apply a tiny bit of pressure on your heel edge or toe edge, but not enough to come to a full stop. This should help you move slowly across the slope before making another turn.
12. Look (and turn your body) where you want to go
This is one of the most commonly used snowboarding tips for beginners, and for a good reason. If there were just one most helpful piece of advice I’d recommend on snowboarding for beginners, this is the one I’d choose. A lot of people (myself included) look toward the ground or the bottom of the hill at all times, but this can lead to poor weight control and, ultimately, falling.
Instead, look toward the direction you want to go, and align your body with the direction you’re looking. This means you’ll want to bring your gaze to the point where you want to go, then bring your neck, shoulders, and hips in alignment with that. When your whole body begins to shift its weight in the right direction, your board will follow naturally.
Beware the common issue of looking in one direction but not aligning the rest of your body with your gaze. This may cause you to catch an edge or attempt to turn when your weight isn’t distributed accordingly over your feet, causing a fall. Over time and with lots of practice, you’ll start to be able to feel where your weight needs to go to move how you want. Don’t try to force it!
13. Bend your knees
Keeping your knees bent will help you avoid falling by absorbing the bumps caused by uneven ground. A lot of beginners make the mistake of locking up or stiffening their legs, often out of fear or nervousness. However, the “looser” you can make your knees, the less chance you’ll have of falling and the smoother your ride will be.
In the beginning, I found it helpful to slightly exaggerate bending my knees, especially on turns where my tendency was to lean too far on my back leg. Bending my knees more on my turns helped me center my weight and push weight forward onto my front leg. I also discovered that bent knees were particularly helpful when riding straight, as it helped me to keep my weight forward on my board instead of back (which often resulted in falls).
14. Avoid leaning too far on your back foot
Leaning too far on your back foot on turns or when getting off chairlifts is a natural tendency, but one that often ends in a wipeout (or slipping around, at the very least). It may feel unnatural, but it’s important to learn how to shift your weight toward the center of your board and forward toward your front foot. This will make turns and changing edges a lot easier, and will enable your front foot to control your movements (rather than your back foot acting as a rudder).
My snowboard instructor even went as far as saying that I should try to practice riding as if my back foot were lifted up slightly. I haven’t exactly attempted this, but it did help me think more about where my weight was centered as I was starting to ride more comfortably down the slopes.
After Hitting the Slopes: Snowboarding Tips for Beginners Moving Forward
15. Stretch & recover
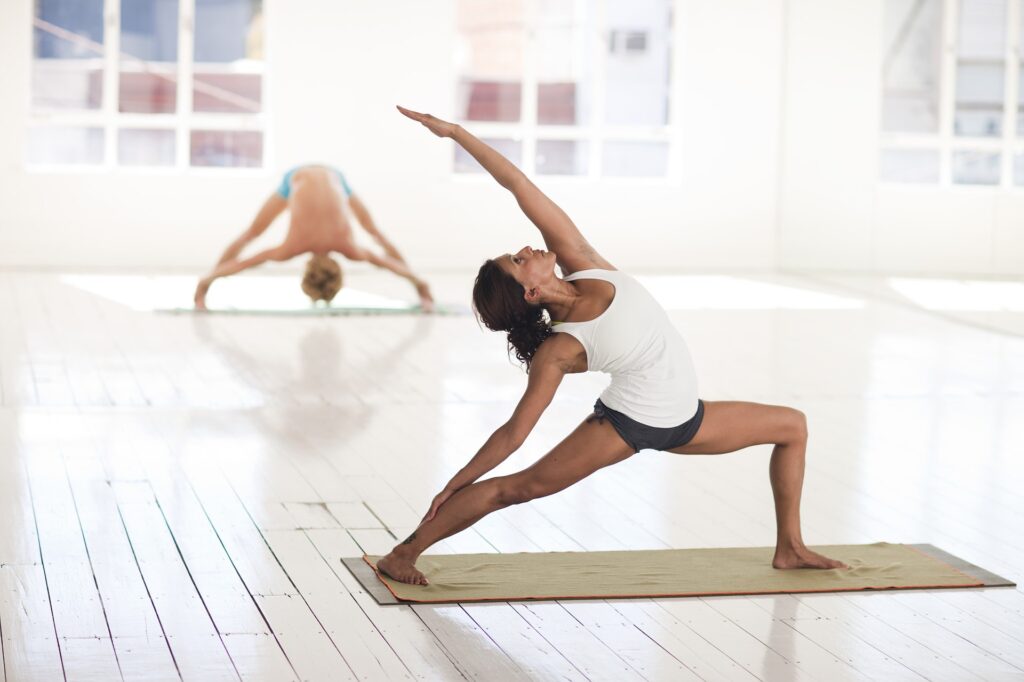
With the allure of apres-ski drinking and hot-tubbing, it’s easy to forget that snowboarding is a serious physical activity that should be treated like any other sport. This means that stretching before and after hitting the slopes is critical for keeping your body slope-ready and ache-free. Doing activities like yoga that promote stretching and strengthening is a great way to wind down after a day of snowboarding. Alternatively, you can do some of these snowboarding stretches once you’re done for the day.
16. Drink tons of water
In the winter, it’s easy to get dehydrated because of the cold temperatures. However, anyone who has been snowboarding before knows that you can work up a sweat, and that hydration is incredibly important for staying in top shape on the slopes. Bring an insulated water bottle with hot water to warm up in between runs (or cold water, if you prefer it!) and be sure to sip on it throughout the day to stay hydrated.
After a day on the slopes, be sure to drink even more water to keep yourself hydrated throughout the evenings. Winter dehydration is a huge risk, and while doing energy-intensive things like skiing or snowboarding, it can be even more dangerous.
17. Make a learning advancement plan
Once you’ve gotten the hang of all the basic skills and drills we discussed in this post, you’ll finally be riding more or less proficiently down an easy slope. But what’s next? Once you’ve gotten the basics down, it’s always a good idea to think about what you’d like to learn - be it riding more advanced slopes, doing jumps and tricks and “butters,” riding in the backcountry, or all of the above. Use these aspirations to set goals for yourself.
For example, after I spent a couple days getting used to the green runs, I set a goal to do one blue run by the end of my first week and to write my own guide to snowboarding tips for beginners (which is what you’re reading now!). After that, I set a goal to do a double black run, learn to jump, and ride at least one terrain park before the end of the season. I’m still working on some of those goals, but hope to crush them by the end of this season.
As you get more and more comfortable on the slopes, consider investing in your own snowboard, bindings, and boots so that you can progress even further! Usually, the rental boards and equipment are less-than-ideal for advancing in your snowboarding, and having your own gear can help you improve and grow in the sport because it’s higher-quality, more lightweight, and fit exactly to your needs and preferences.
Snowboarding Tips for Beginners: Additional Resources
- Snowboard Pro Camp - I loved these videos when I was learning and used them almost every day I was out on the slopes. Kevin shares some of the best snowboarding tips for beginners and has easy-to-follow tutorials to go along with them!
- Backcountry - Backcountry is my absolute favorite place to get ski and snowboarding gear. I’ve bought basically all of my snowboarding gear this season from Backcountry and they often have really great sales.
