Updated June 24, 2025
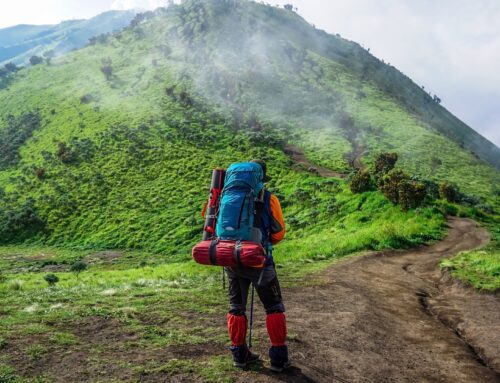
While there’s no such thing as an “easy” 14er, there are certainly some 14er summits that are more accessible to the masses than others. Mount Bierstadt, located about an hour outside of Denver, is one of those summit hikes that makes hiking up above 14,000 feet possible for non-technical hikers. For those who have been hiking a while or are training for their first 14er summit hike, Mt. Bierstadt is a fantastic option to finally bag one of these essential Colorado summits.
What’s a “14er,” you may ask? It’s local slang for a mountain with a peak that’s above 14,000 feet. Mount Bierstadt’s summit altitude is 14,065 feet, bringing it just above the threshold to join these iconic peaks. To help you prepare for hiking Mount Bierstadt, we created this guide based on our actual experience hiking to the summit of this famous Colorado mountain.
The Mt. Bierstadt Trail: An Overview
Early in the morning, locals and visitors alike flock to the Mount Bierstadt Trail to try their hand at summiting a 14er. While it’s not always the first Colorado 14er people tackle (ours was Quandary Peak), it’s fairly common to see hikers of various abilities along the 7.5 miles of this trail. While the ascent does require some scrambling, it’s a decently accessible summit, with most of the trail consisting of steep but gradual uphill until about ~0.25 miles from the top.
Here’s a quick snapshot of the Mt. Bierstadt trail:
- Trail Distance: 7.5 miles
- Elevation Gain: 2,782 feet
- Difficulty: Difficult
Things to Know Before Hiking Mount Bierstadt
This trail is clear and self-explanatory, but there are a few things I wish I knew before embarking on the Mount Bierstadt Trail:
- Many people choose to do Mount Bierstadt as their first Colorado 14er. This means you’ll have a much wider range of abilities and speeds on the trail than other, more advanced summits. There were plenty of experienced hikers along the trails, but there were also people taking the trail more slowly. One guy even asked us for water halfway up the trail (please don’t do this - bring a trusty water bladder or bottle and always pack more than you think you need).
- You may need to cross a small stream to access the trail. When we went, this stream was low enough that we could pass over the rocks without getting wet. However, some other reports say that earlier in the year, you may need to cross through knee-deep or higher waters. Come prepared with an extra pair of wool socks (they dry more quickly than other blends) and a sturdy pair of boots.
- The last ~1/4 mile is all scrambling. Be prepared to use your hands and feet to scale the large boulders at the summit. We’d also recommend trekking poles for the descent, as the gravel trails can be slippery and hard on the knees.
- Because it’s the most popular 14er, the parking lot can fill up very early. On weekends during the high season, folks have reported full parking lots as early as 6 AM. We always recommend hiking during low times, but if you cannot do that, plan to get there early.
How to Summit Mount Bierstadt: Our Guide
Starting the Trail: A Gradual Incline
When we arrived at Mount Bierstadt, it was about 10 AM on a weekday, and we easily found a parking space in the lot by the trailhead. For this hike, I went with a friend of mine who is a very experienced runner, but neither of us are originally from Colorado, so we were pretty new to 14er summit hiking. We’d previously completed Quandary Peak, so we weren’t complete beginners, but this was our second major summit in the area, so we didn’t exactly know what to expect.
As we began the trail, we were surprised to find that the first mile or so was actually pretty flat, with many parts actually slightly downhill. The trail from the parking lot descends to a stunningly beautiful meadow with scenic wildflowers and a really pretty stream, which we crossed using rocks quite easily.
Note that the trail does require crossing this stream - we originally thought we had to go around it, so we ended up accidentally taking a ~15 minute detour to a non-path along the side of the stream. Don’t do this!
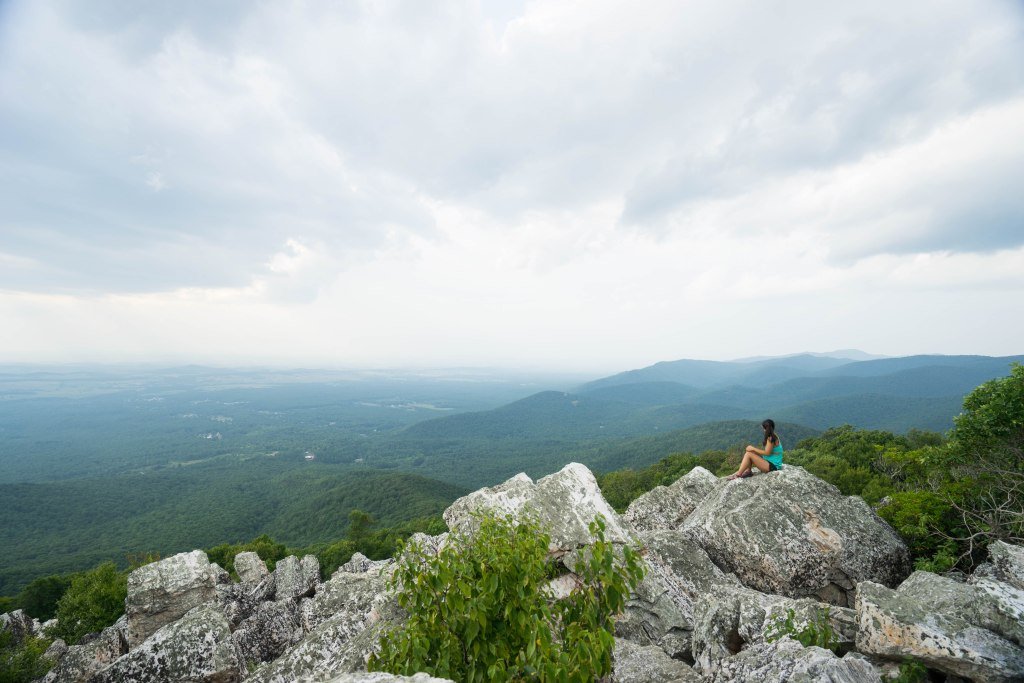
Once we got to the base of the mountain, the trail began to climb at a much steeper rate. The ascent to the saddle was still gradual, but it was definitely steeper than the beginning of the trail. Along the way, we caught really pretty views of the nearby Sawtooth and the valley we came from. For us two moderately experienced hikers, we were huffing and puffing from the altitude a little bit, but we were still able to hold a conversation as we made our way up the side of the mountain.
Reaching the Saddle
The last push to the summit was significantly steeper than the previous part of the ascent. My friend, with his spidery long legs and runner’s speed, pushed ahead a lot more quickly than I did. But storm clouds were quickly starting to roll in, so I picked up my speed as much as I could to push to the saddle. This part of the trail got significantly rockier, but we weren’t quite scrambling yet. It was truly a steep push to the top, with grades around 30% and the air thinning a bit more.
Finally, after about half a mile of some serious uphill hiking, we made it to the saddle, which was a relatively flat stretch of trail before the last sprint to the summit. I took a very short break up here to admire the views, but decided to push onwards so that we could try to beat the rain at the summit.
Scrambling to the Summit
The last ~1/4 mile was all scramble. Large boulders constitute the “path” up to the summit, and my friend and I were both on our hands and feet, scaling large boulders to get all the way up to the top. It wasn’t much distance, but this part took a little bit of calculation and artistry to ensure we navigated the rocks efficiently and safely. My friend is a little bit less experienced in the scrambling department, but after about 20-30 minutes of hopping over rocks and flinging ourselves across boulders, we made it to the top! The best part was that we beat the rain at the summit…for now.
We didn’t spend long at the summit because the rain was imminent, but we did take a few photos up top and caught our breath from all the hard work we did to get there. Admittedly, we both liked the views from Quandary Peak better, but still enjoyed the scenery and landscapes from the top of Mt. Bierstadt, too.
Descending Mount Bierstadt (AKA: How Not to Slide Down the Mountain On Your Butt)
Because of the combination of the rocks and the rain, the descent was arguably harder than the ascent. Yup, you read that right - the rain finally caught up with us during the final few minutes at the summit. We started our downward scramble in damp conditions (always slightly scary, given that the rocks and surfaces get much more slippery).
Once we made it to the saddle, our objective was simply to get back to the car as quickly as possible. We did struggle with slipping down the steeper parts of the trail, and at that moment, I really wished we’d brought hiking poles to help brace us as we flew down the mountain. Both my friend and I fell at least once as we made our way down, laughing and scowling as our clothes started to soak though and get covered in mud.
Once we got to the bottom of the steep section near the saddle, it was pretty smooth sailing the rest of the way.
As we debriefed our hike in the car, both my friend and I decided that we loved the scenery of the hike up even more than we liked the summit itself. We’d both also recommend this hike to anyone who is experienced at hiking and who feels ready to tackle their first 14er summit. Aside from our little stream snafu in the beginning, the trail was super easy to follow, well-maintained, and gradual enough to be accessible to most experienced hikers.
Additional Resources for Hiking in Colorado
What to Bring
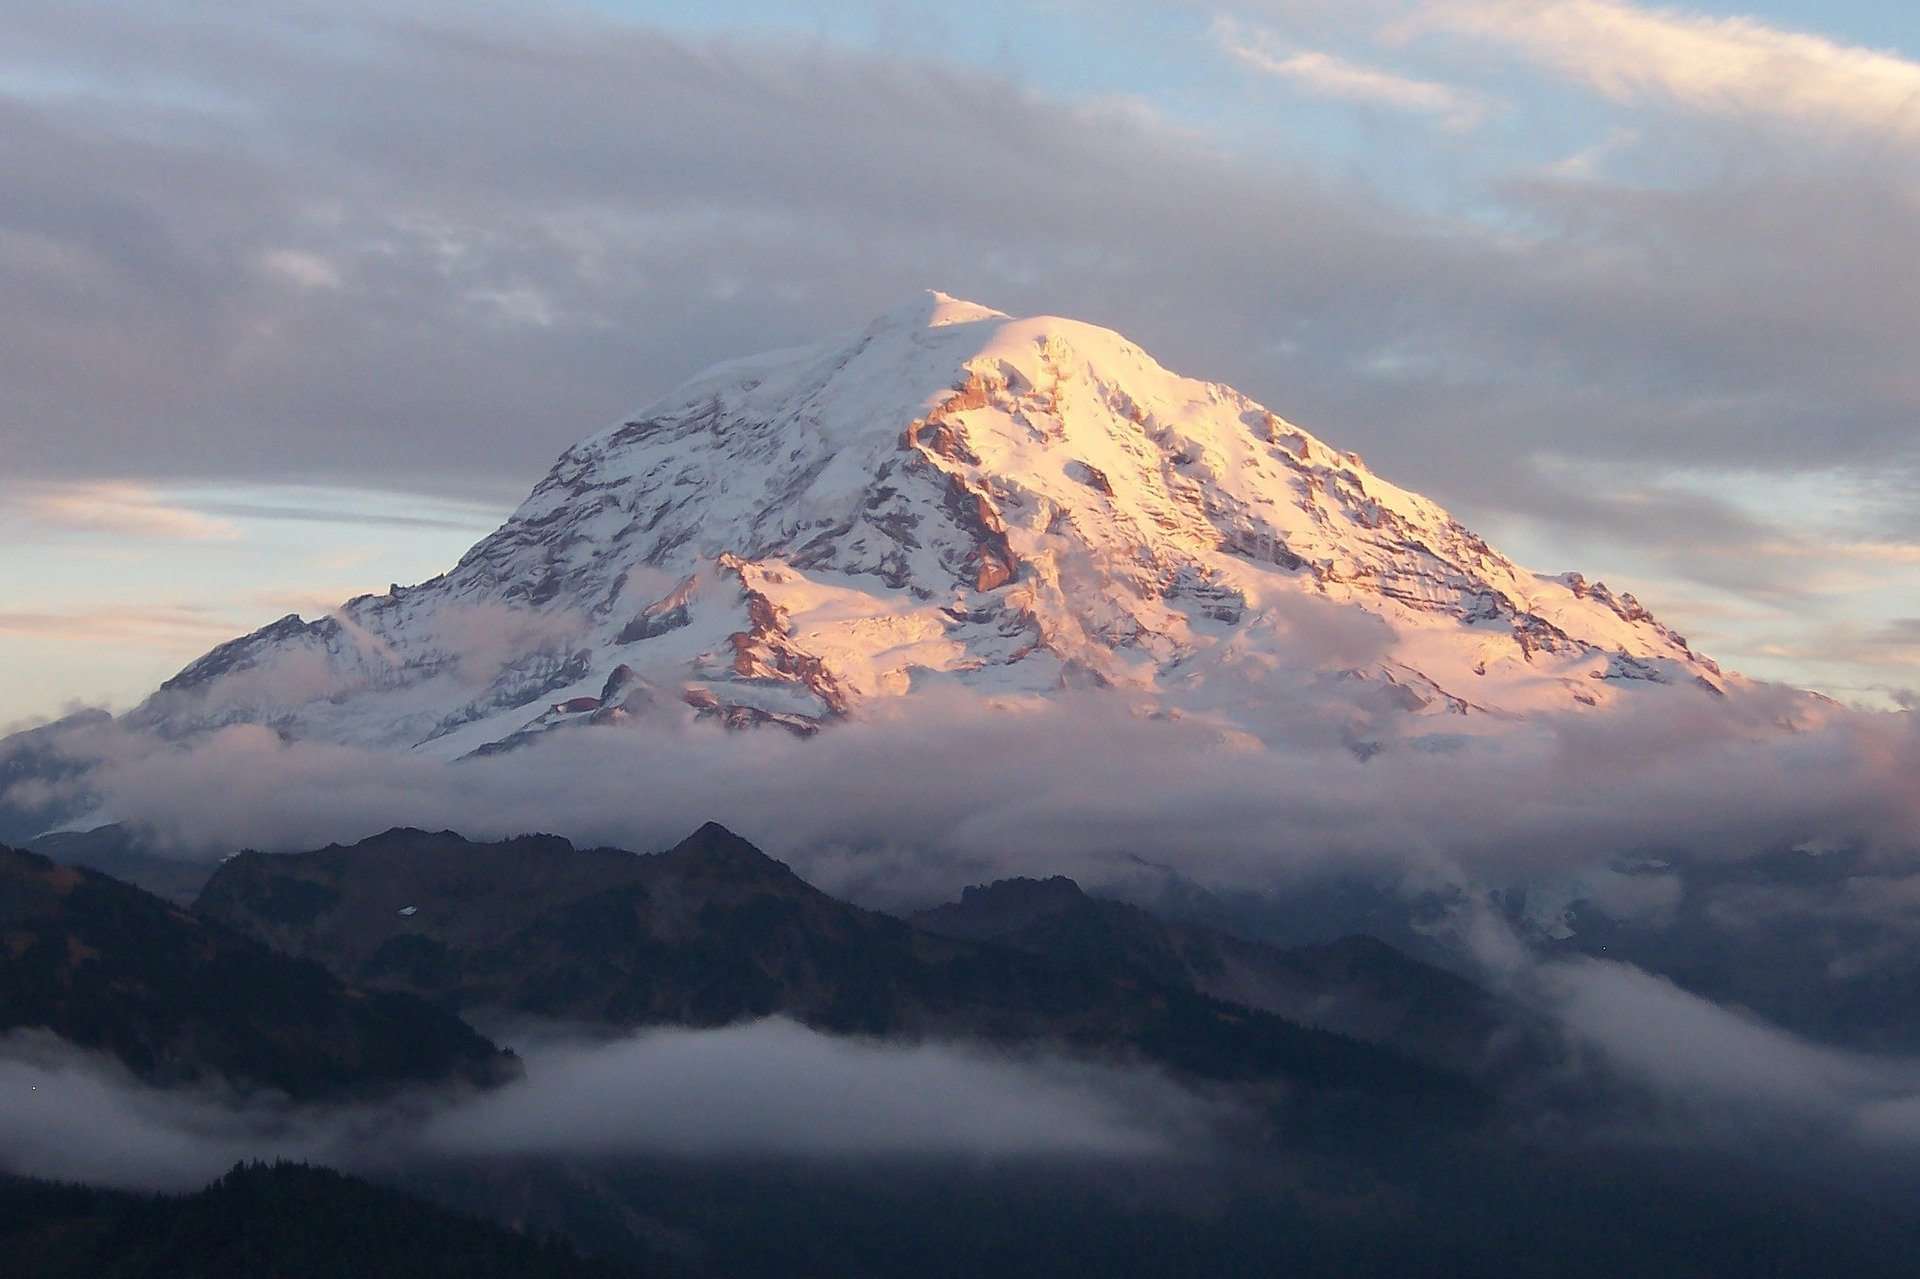
- Breathable hiking clothes - For warmer hikes, you’ll want to wear a sweat-wicking shirt and breathable pants, like these Patagonia hiking shorts for men and women. For cold-weather hikes, we recommend dressing in layers, including merino wool baselayers for men and women, a down puffer jacket for men and women, and a Northface waterproof outer shell for men and women (a must for hiking in Seattle). And don’t forget a pair of the best women’s and men’s hiking socks!
- Trekking poles - You won’t need these for every single hike, but we suggest throwing them in your car just in case. We recommend the Black Diamond Trail Ergo cork trekking poles, which are lightweight, easy to transport, and durable.
- Water bottle - Having water available at all times is a huge must. To limit disposable plastic, we recommend bringing your own refillable water bottle. We’re obsessed with Hydro Flask water bottles because they keep water cold for hours.
- Sunscreen and bug spray - Sweatproof sunscreen and DEET bug spray can help you avoid sunburn and bug bites, two of hiking’s most annoying after-effects. Our favorite kind of sunscreen is Sun Bum, as it is free of harsh chemicals and safe for marine life, including coral reefs.
- A brimmed hat or cap - The sun can be brutal in open hikes, so always pack a brimmed hat or cap for day hikes in the sunshine.
- Emergency blanket and first aid kit - We’d strongly recommend bringing a first aid kit and a lightweight emergency blanket on every hike. Why? Because the unfathomable can happen, and it’s always best to play it safe.
- Durable day pack - A durable day pack is the perfect spot to stash all your hiking gear. While any backpack will do, we recommend the Osprey Tempest 20 or the Talon 22 day packs because they’re comfortable and breathable for long hikes. For more information, check out our best day packs for any terrain guide.
Wondering what exactly you should pack for your next hike? Visit our Complete Day Hiking Packing List for our full list and our top gear recommendations.
